The following content is about how to use EISeg to annotate 2D images. Model preparation and how to use can be seen as follow:
Before using EISeg for det annotation, if you use the pre annotation function, please download the detection pretrained model firstly. EISeg 1.1.0 provides PicoDet-S model trained on COCO dataset to meet the requirements of generic detection scenarios. Users can choose manual annotation or rely on AI model to generate labels.
| Model Type | Applicable Scenarios | Model Architecture | Download Link |
|---|---|---|---|
| Lightweight Model | Image annotation in generic scenarios | PicoDet-S | PicoDet-S |
NOTE: The downloaded model structure *.pdmodel and the corresponding model parameters *.pdiparams should be put into the same directory. In the det annotation mode, if the pre annotation function is enabled, you only need to decide the location of the model parameter at the end of *.pdiparams, and *.pdmodel will be loaded automatically. If you choose not to enable pre annotation, you do not need to load the model.
The overall process of using EISeg detection labeling is shown in the figure below. For details, please refer to the following instructions:

The overall process
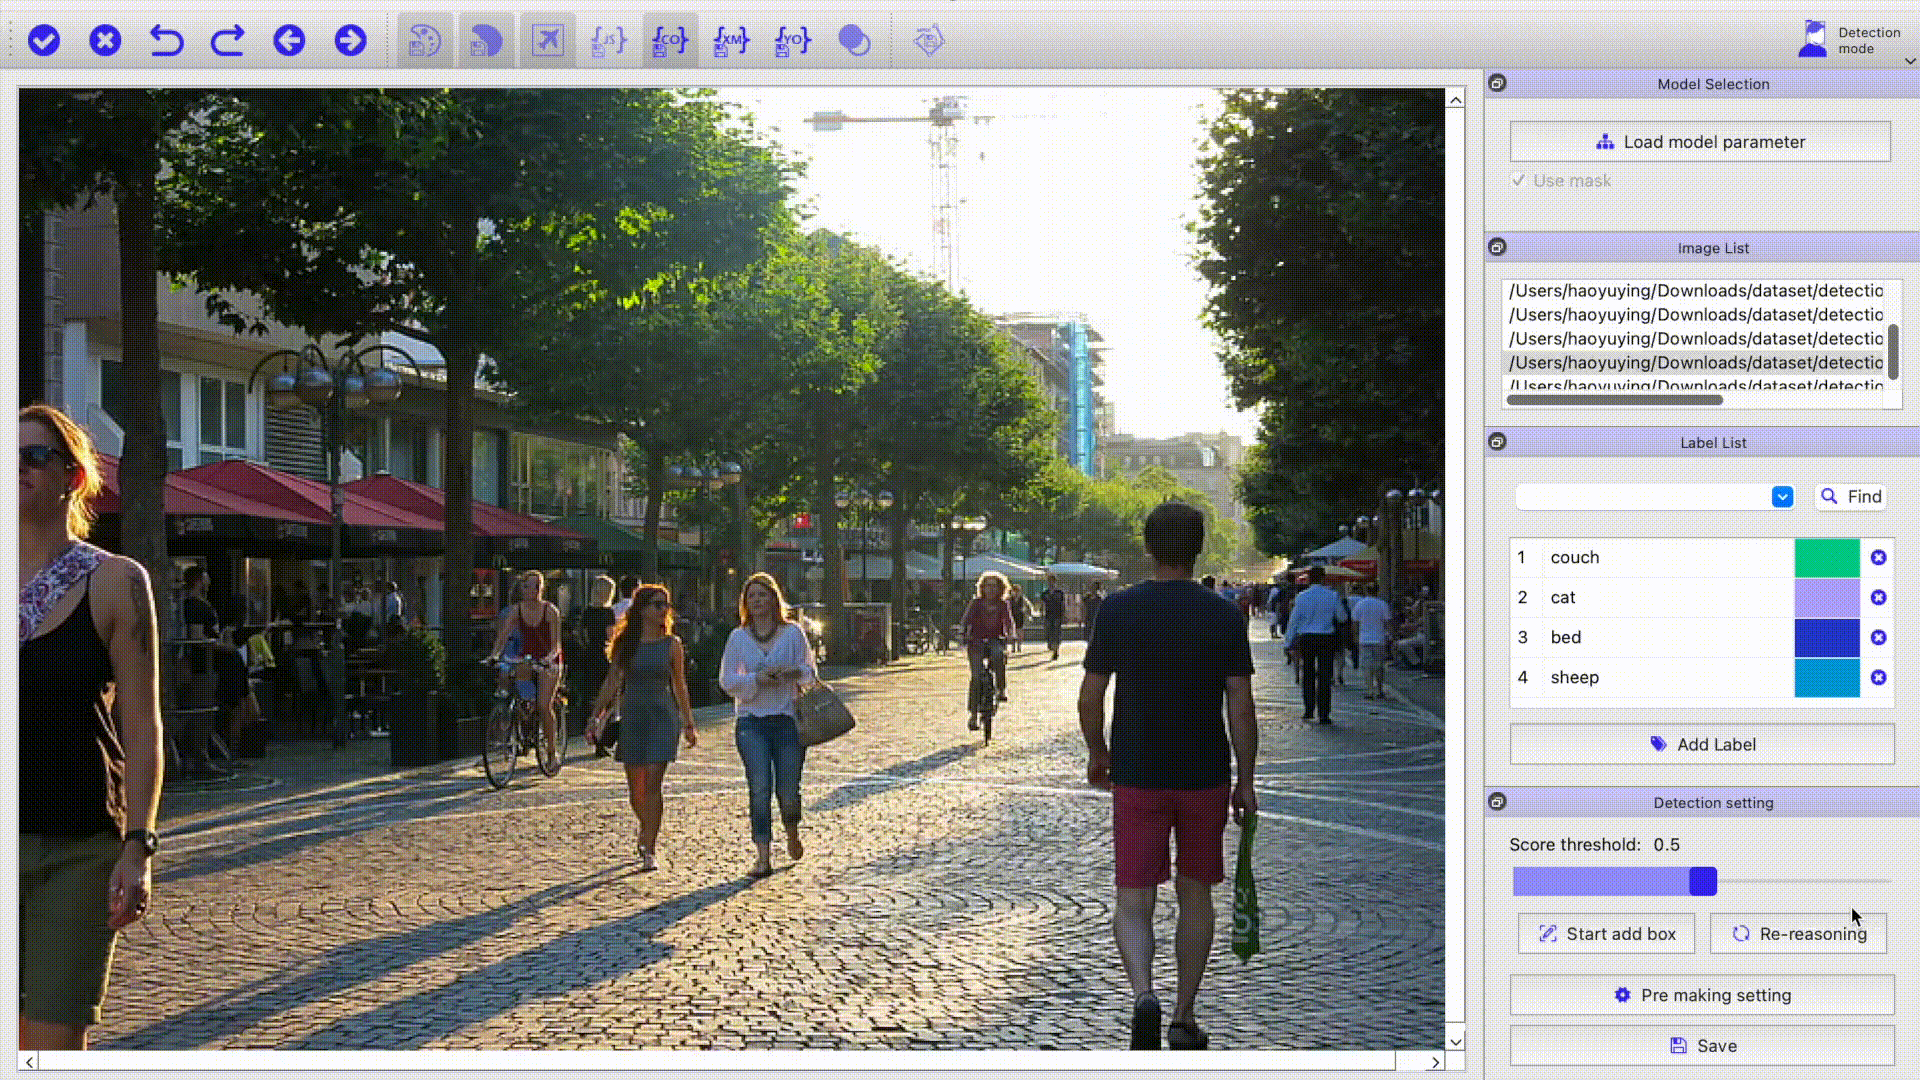
After opening the software, make the following settings before annotating:
-
Annotation Mode Selection
Select the detection annotation mode. Click the mode switch button in the upper right corner of EISeg to enter the detection annotation mode, and select whether to enable the detection pre annotation function according to the pop-up prompt. If not, skip steps 1 and 2 below.
-
Load Model Parameter
Select the appropriate network and load the corresponding model parameters. Click the
Load Network Parametersbutton in theModel Selectionarea,After downloading and decompressing the right model and parameters, the model structure*.pdmodeland the corresponding model parameters*.pdiparamsshould be put into the same directory, and only the location of the model parameter at the end of*.pdiparamsneed to be selected when loading the model. The initialization of the static model takes some time, please wait patiently until the model is loaded. The correctly loaded model parameters will be recorded inRecent Model Parameters, which can be easily switched, and the exiting model parameter will be loaded automatically the next time you open the software.
-
Pre Annotation Settings
Create labels correspondence. Click the
Pre Annotation Settingsbutton in theDetection Settingsarea to set the corresponding relationship between pre annotation model labels and user-defined labels in the pop-up interface, as well as whether to enable labels of a certain category. In addition, you can also search for specific labels in the search box of the interface, so that users can quickly select target labels to establish the corresponding relationship between labels. By default, COCO 80 labels will be enabled as pre annotation model labels. After establishing the label correspondence, only the user enabled label pairs and user-defined label names will be displayed in the image pre annotation results.

-
Load Image
Open the image or image folder. Things go well when you see that the main screen image is loaded correctly and the image path is rightly shown in
Data List.
-
Add/Load Label
Add/load labels. If the user has enabled the pre annotation function, the labels predicted by the model will be automatically added to the label list. Users can also manually click the
Add Labelbutton to create a new label, which are divided into 4 columns corresponding to pixel value, description, color and deletion. The newly created labels can be saved as txt files bySave Label List, and other collaborators can import labels byLoad Label List. Labels imported by loading will be loaded automatically after restarting the software. In addition, label search is also supported. You can search whether there is a specific label in the label list throughSearch, so that users can quickly locate the target label.
-
Annotation
Start labeling. If you enable the pre annotation function, you can modify and delete the bounding box predicted by the model. You can also click the
Start Draw Functionbutton in theDetection Settingsarea, and select a specific label in theLabel Listarea to manually draw bounding box in the currently displayed image. You can drag the upper left and lower right corners of the bounding box to modify the box. You can click the left mouse button to select the specified bounding box to delete, or you can select the color of the cross hairs when drawing the bounding box. In addition, the color of the bounding box corresponds to the color of the label.
-
Autosave
You can choose the right folder and have the
autosaveset up, so that the annotated image will be saved automatically when switching images.
-
Detection Settings
- After enabling the pre annotation function, the user can drag the
score thresholdslider in theDetection Settingsarea to set the confidence level of the model prediction, thus displaying different numbers of bounding boxes. The manually edited boxes will not disappear with the sliding of the slider. - After enabling the pre annotation function, the user can click the
ReDetbutton in theDetection Settingsarea to delete all the original bounding boxes and re inference and display them.
- After enabling the pre annotation function, the user can drag the
-
Save Format
- By default, Annotation results are saved in COCO format. You can also select VOC and YOLO formats according to your needs.
- With no specified save path, the image is save to the label folder under the current image folder by default.